Install Roller Blinds By Your Self
Roller blind Cassette's brackets come with various holes, allowing you to fit inside the interlude, outside the interlude, into the ceiling or into the wall. In the steps below and in the video, the blinds will be fitted to the ceiling inside the interlude, If you want to mount it on the vertical wall outside the window, we have an "L" shaped bracket with the blind. but the process is similar for the other positions.
No need to be afraid to fix your blind one alone. Follow our instructions exactly.
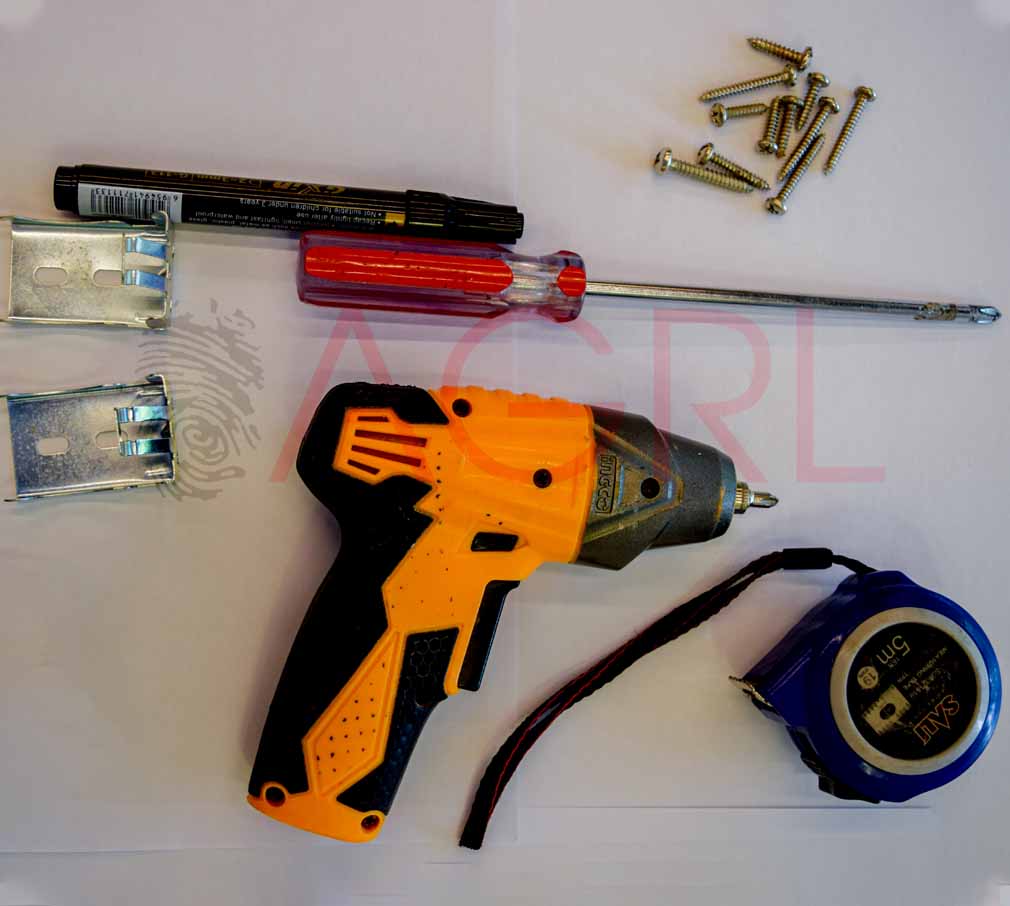
After you have measured your blinds, make sure you have all the tools you need to install them, such as a pencil, drill bit, screwdriver, measuring tape, level meter only, and a height-adjustable ladder.
Whether you choose an interior or exterior fixture, the installation instructions are the same:
Should know
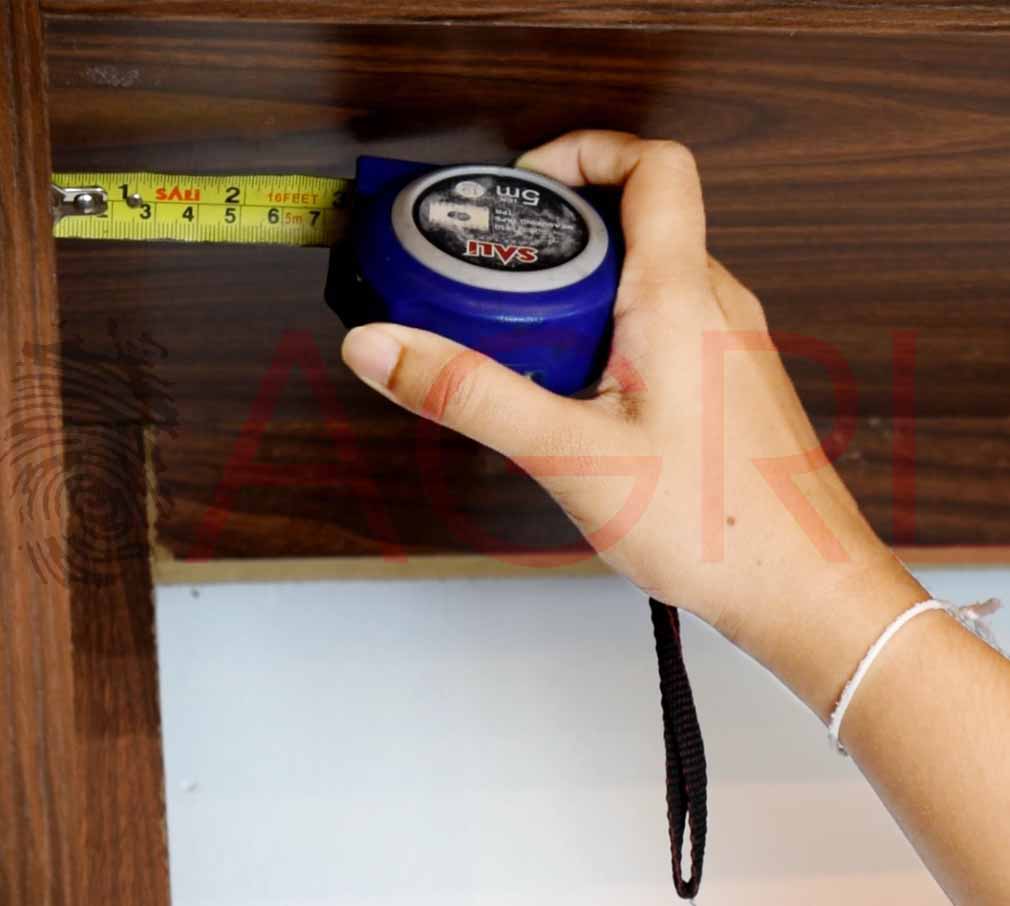
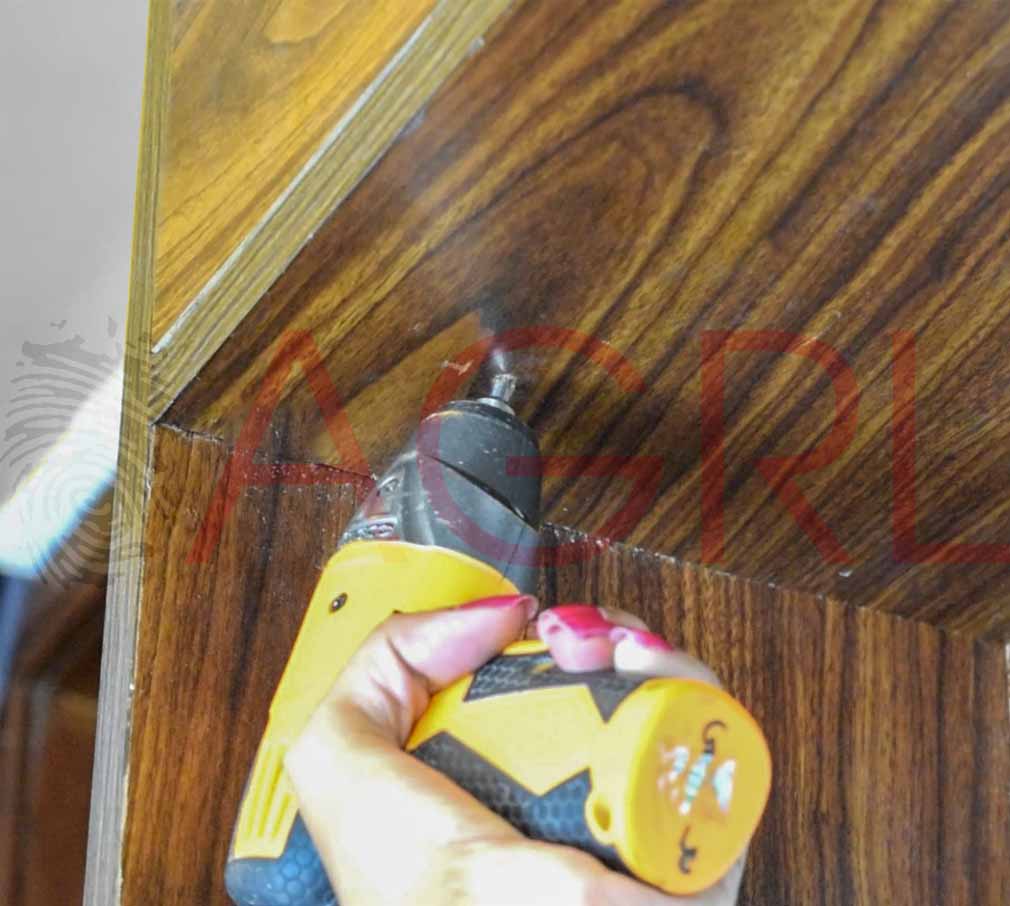
Be sure to drill holes 2 inches from the window before installing each blind.
- First of all, look at the bracket for the Cassette of blinds we have given you and decide where to mount it. (Decide whether the window is on the inside or outside wall or on the vertical wall)
-
Then line them up and check to make sure they are even and straight. level meter This is a good way to test.
-
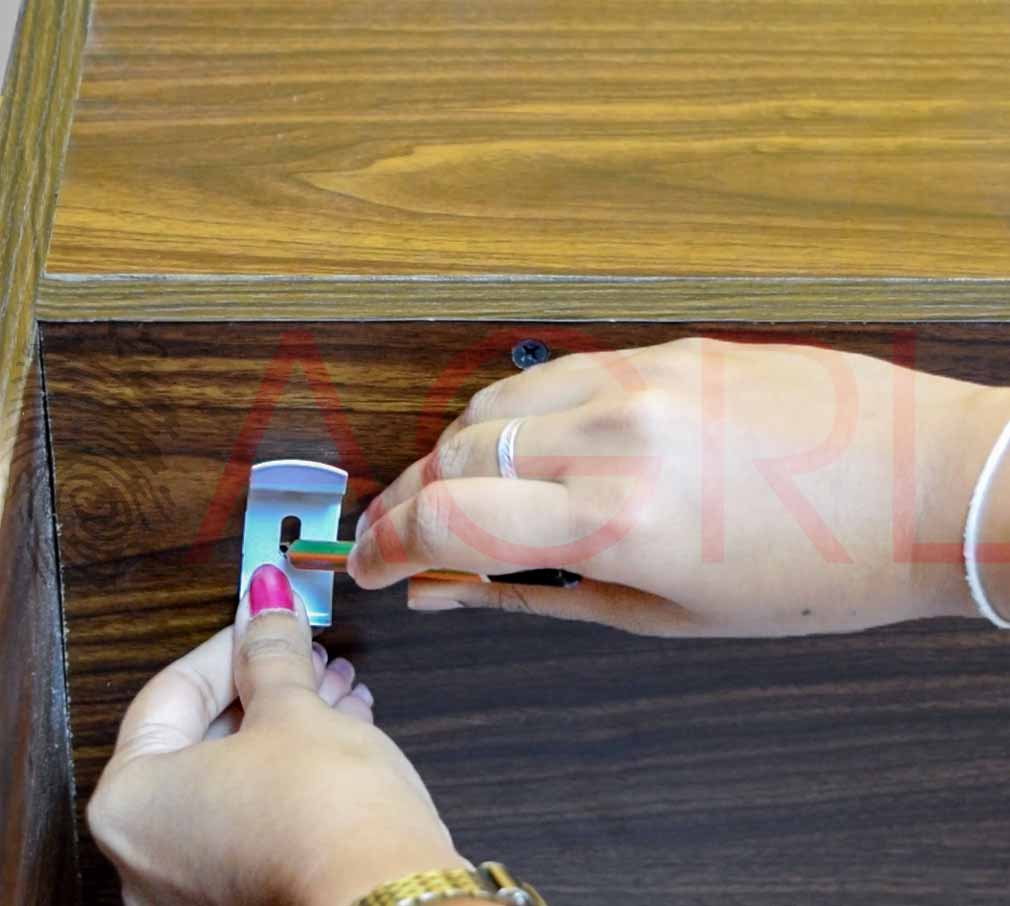
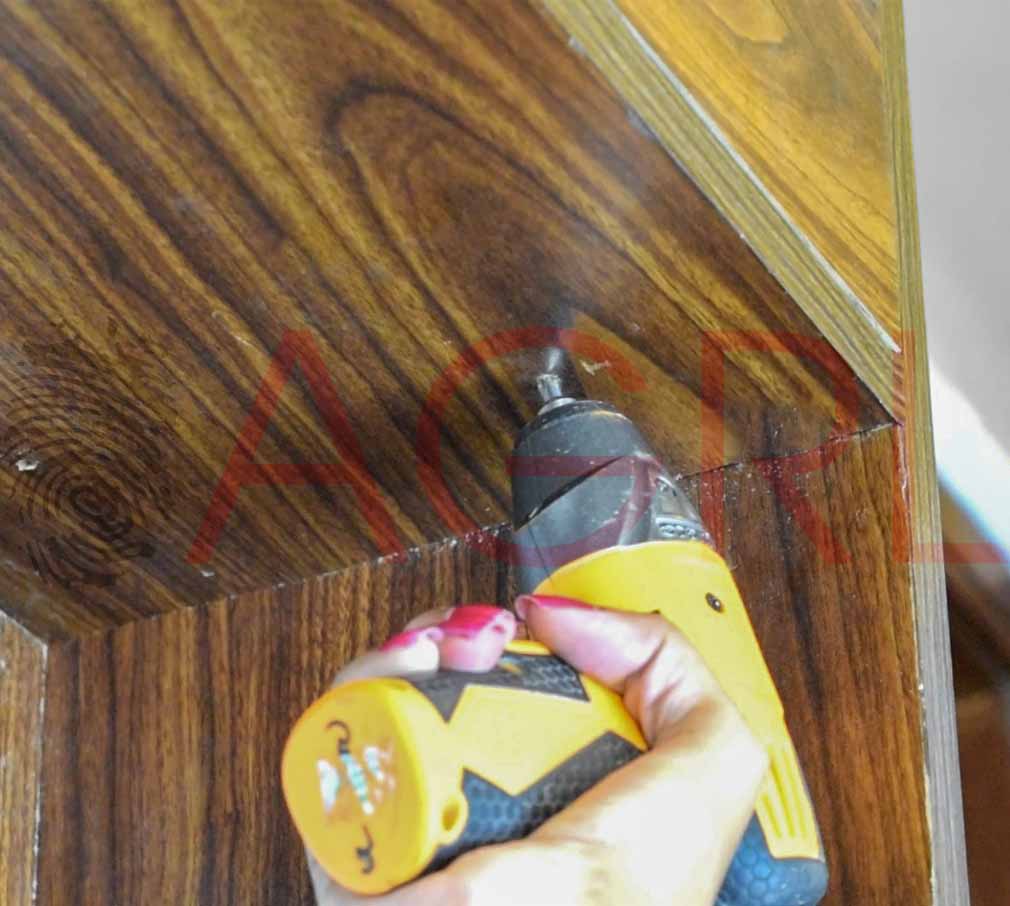
Using a pencil, mark the holes on each bracket for mounting the nails.
-
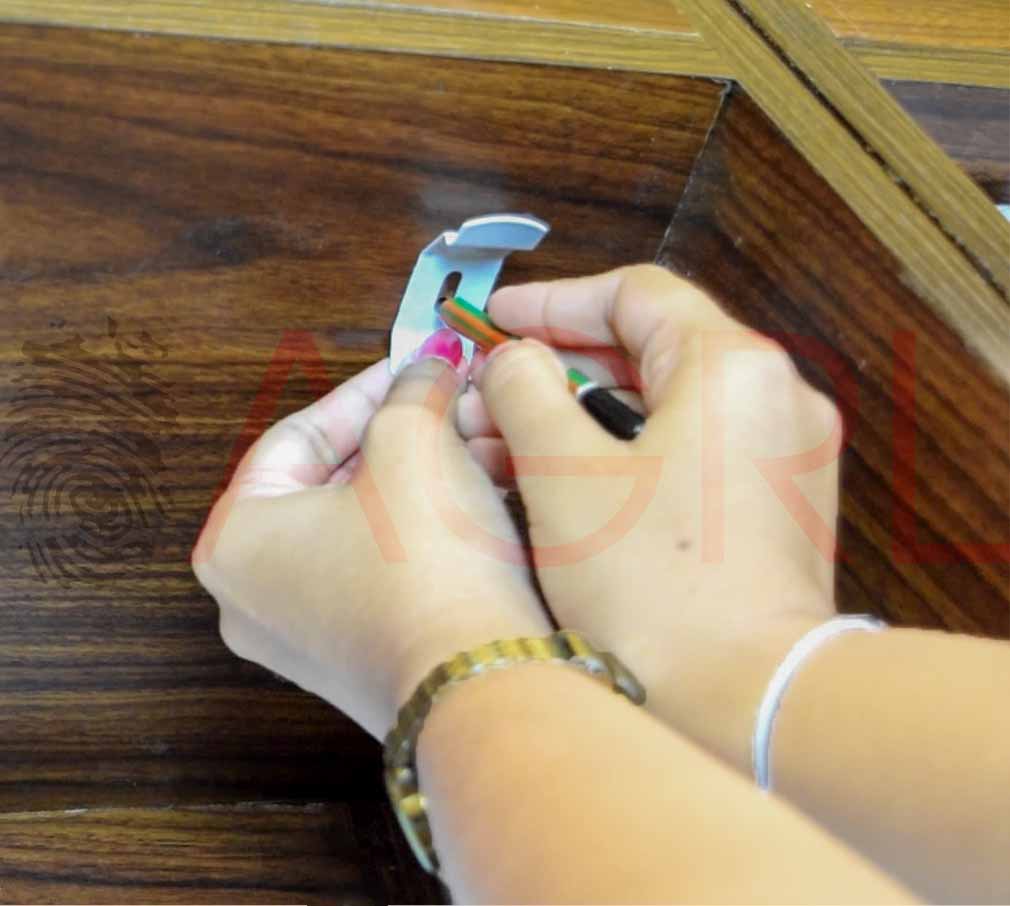
Now drill the marked holes to the required size using a drill bit.
-
Then nail it to the hole and tighten it properly to the right with the nail.
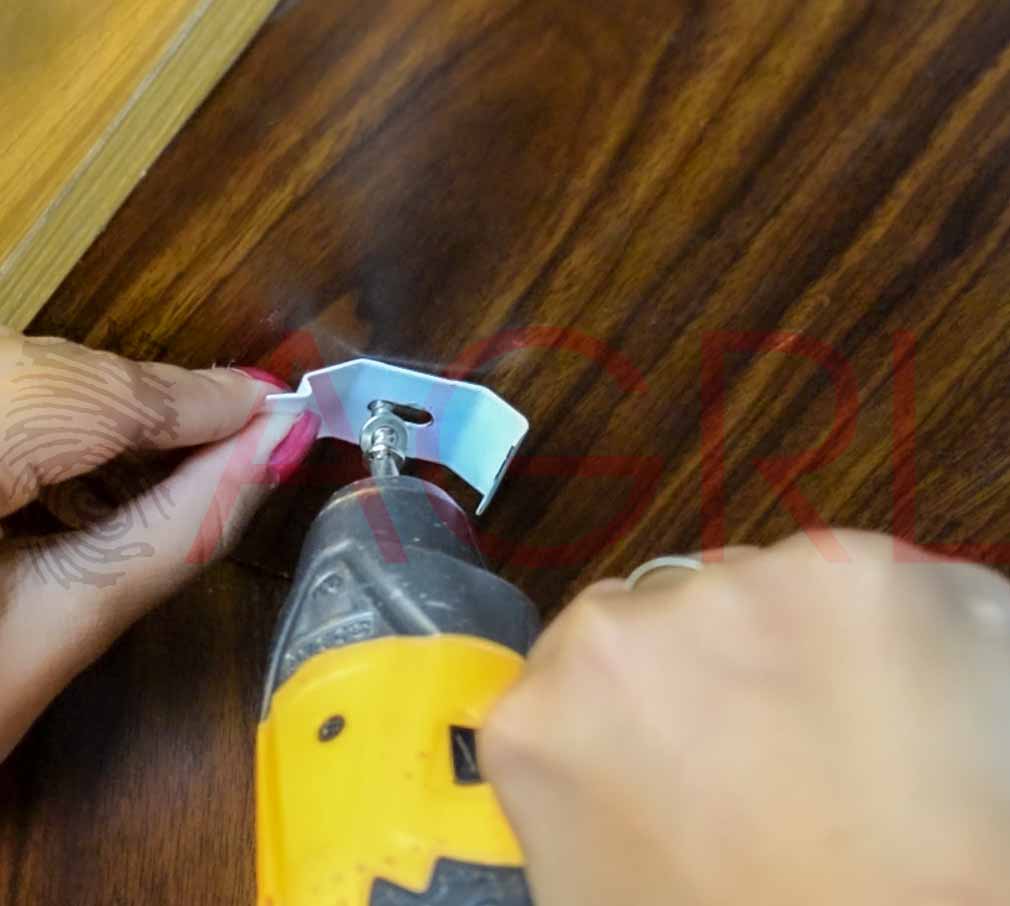
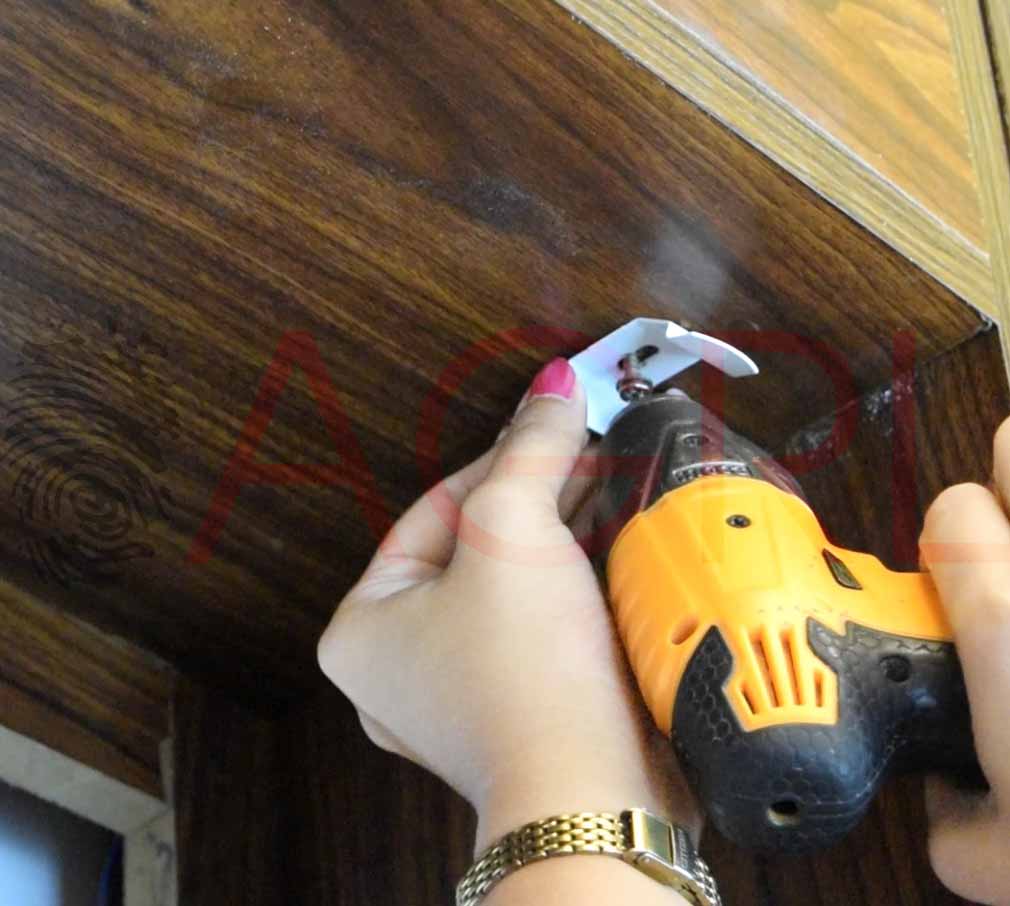
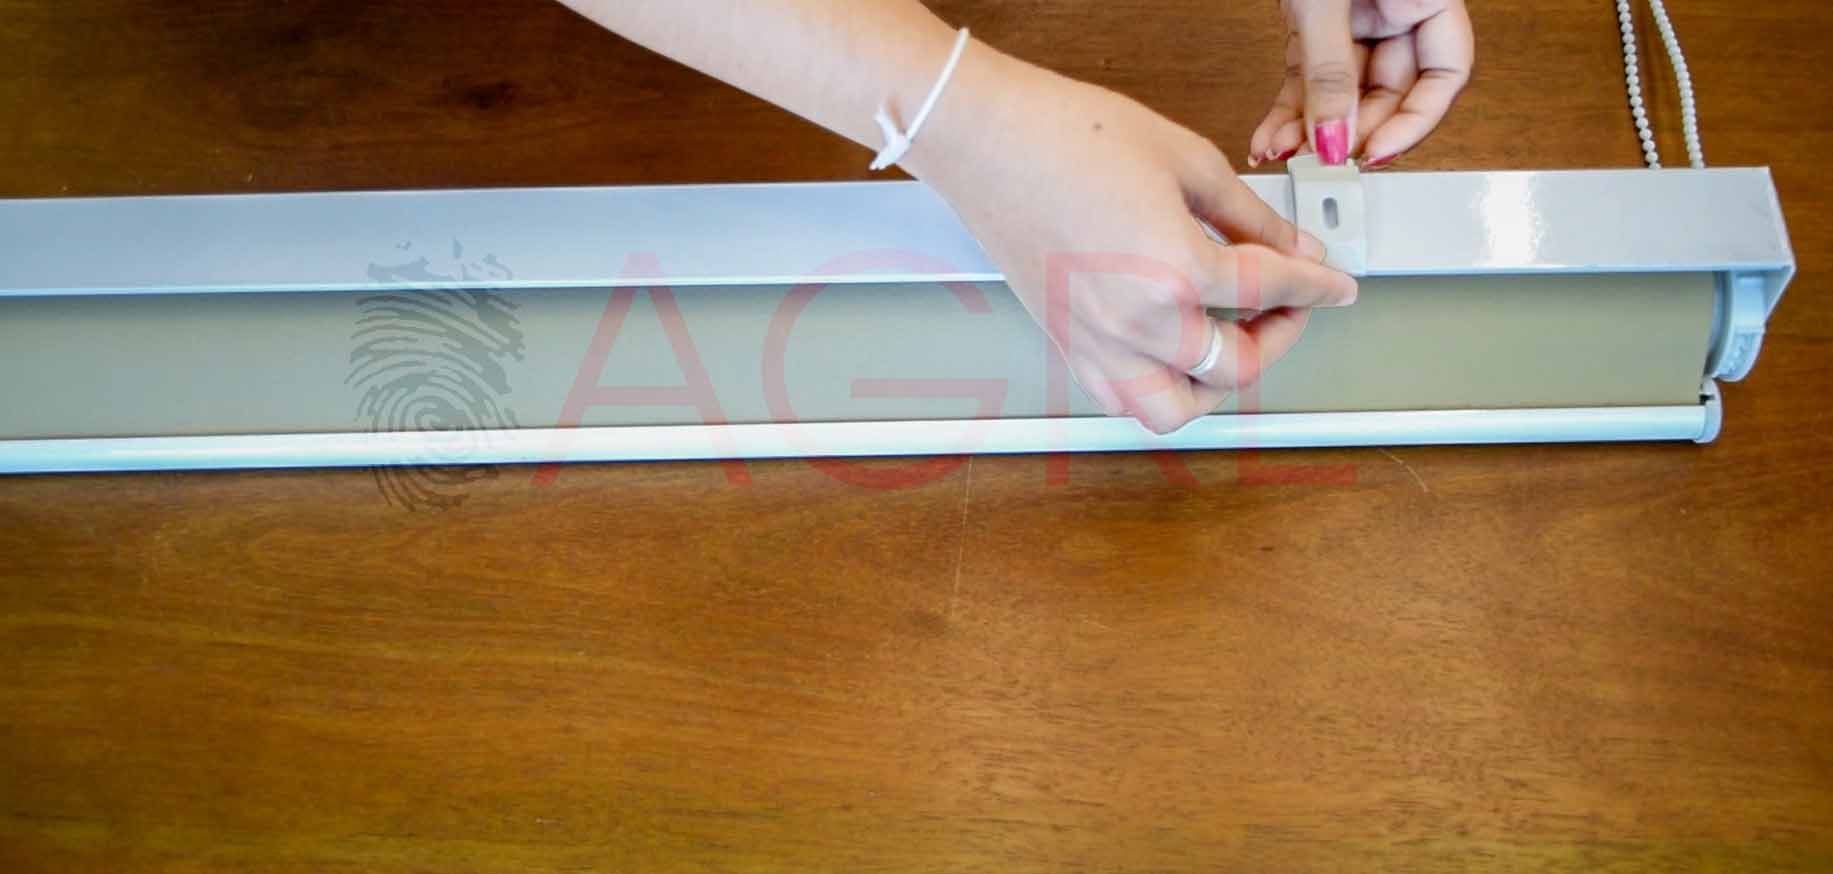
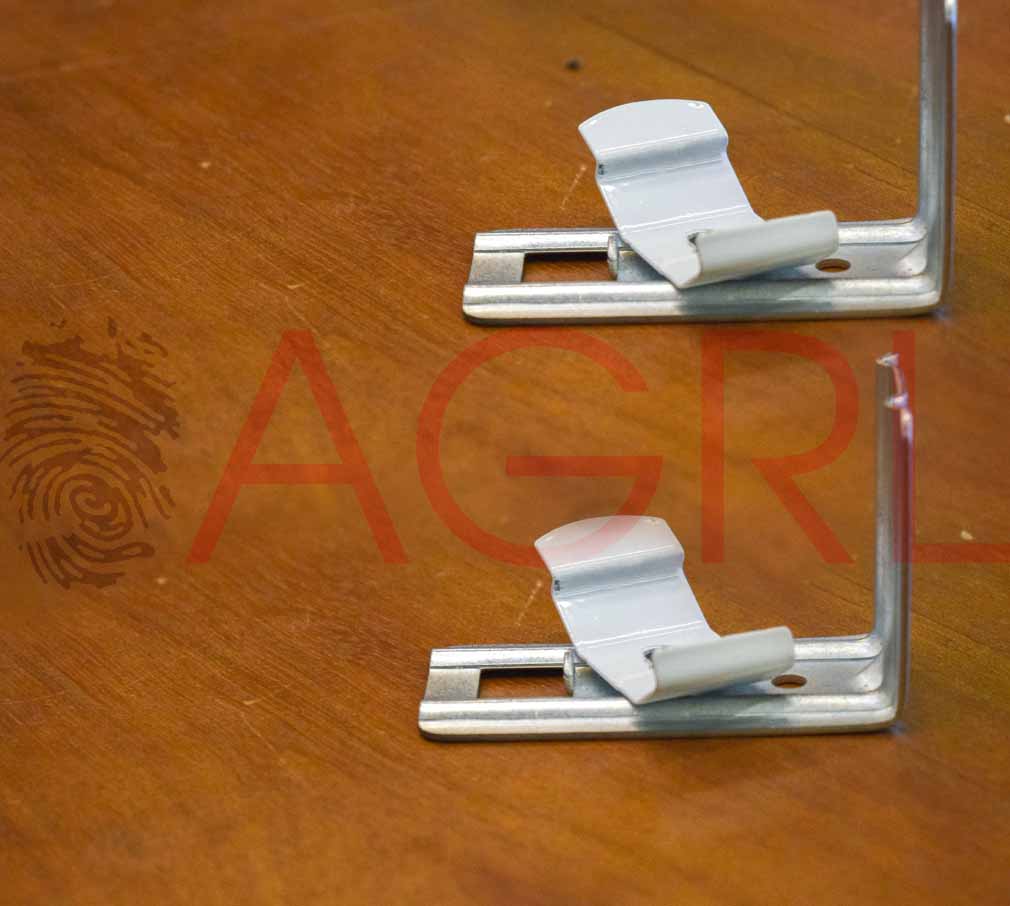
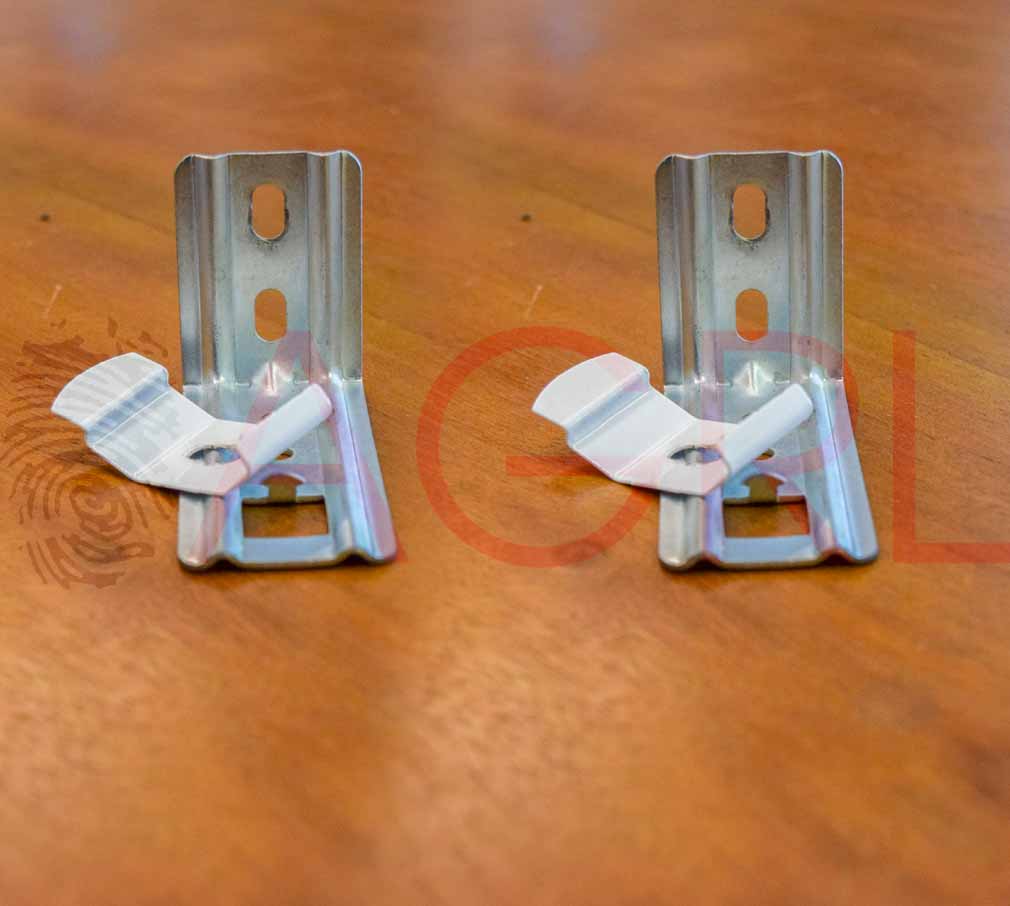
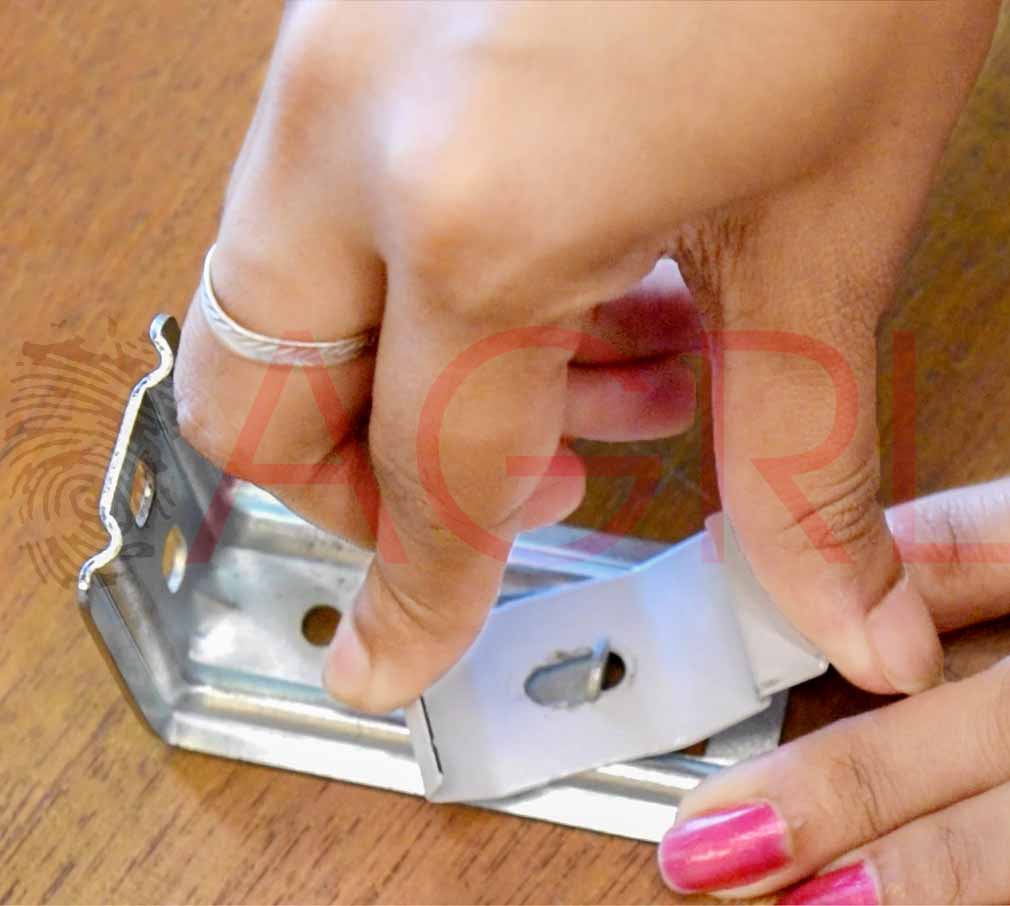
The figure below shows how to mount the brackets on a vertical wall with the "L" brackets we have provided.
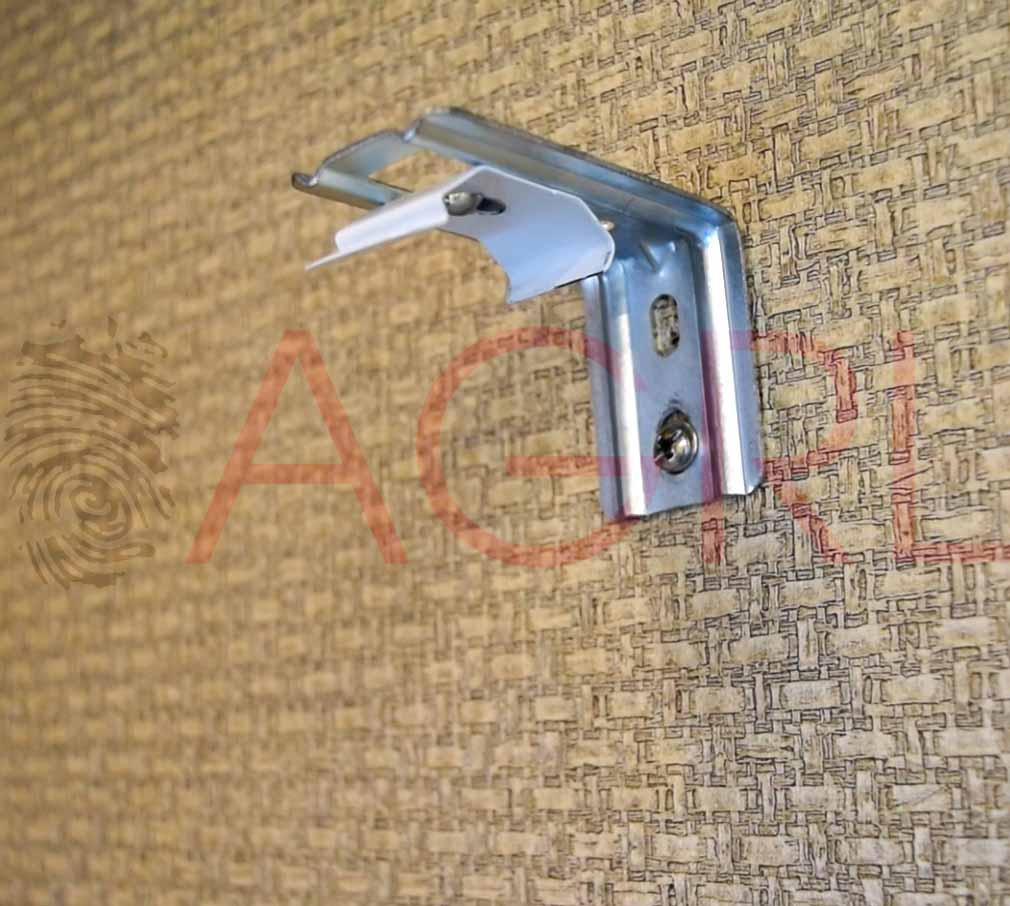
In this case, the "L bracket" does not require a nail to attach to the main bracket and can be easily mounted by turning it as shown in the figure below.

-
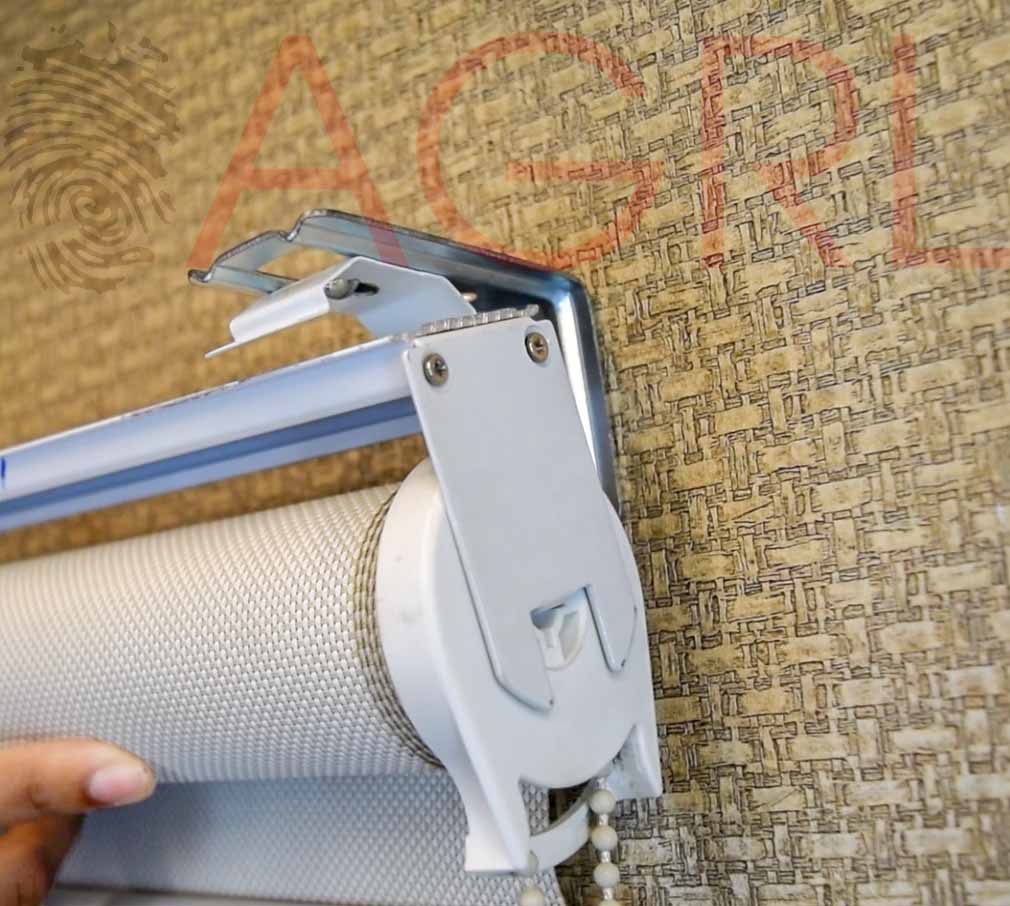
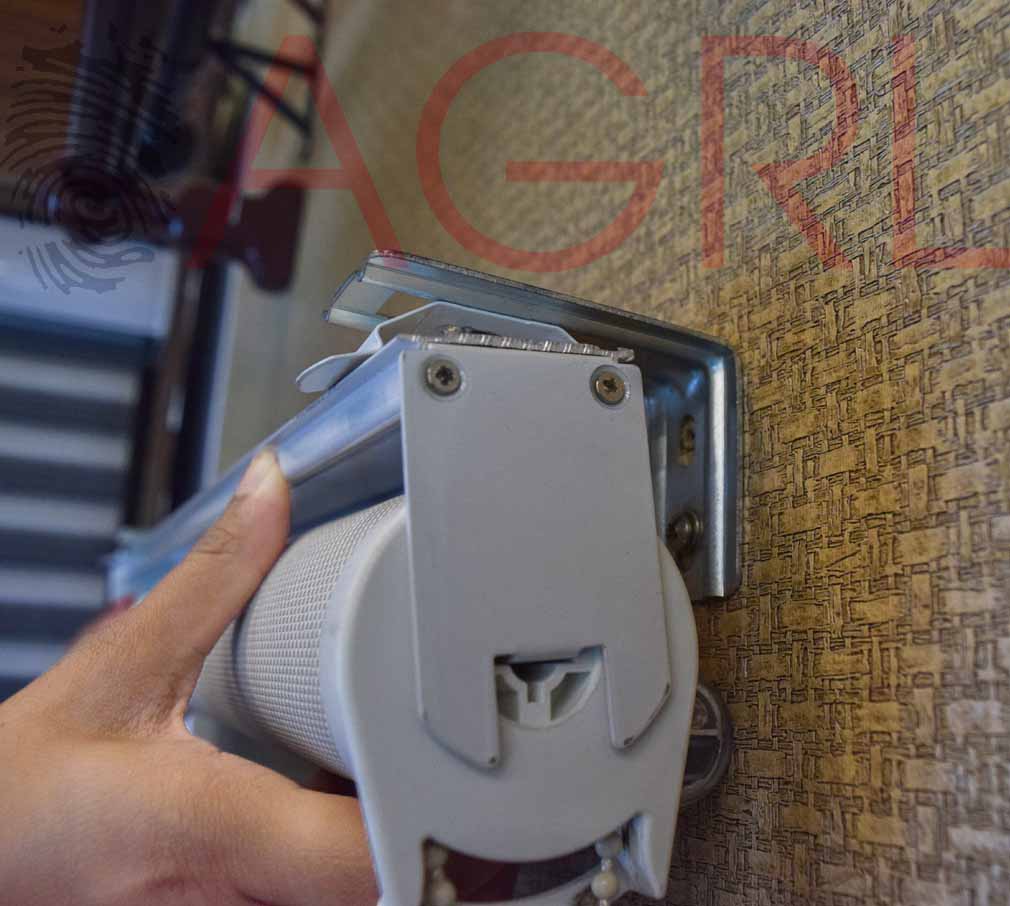
Once all of the above steps are done take yours and mount it exactly as shown in the diagrams below.
-
Hold one on the two hooks in front of bracket each other as in the 1st image.
-
After that slowly rotate the cassette forward and tighten as shown in Figure 2.